How To Fix Water Leak Coming From Pressure Gauge/Valve On Water Tank?
Views : 1308
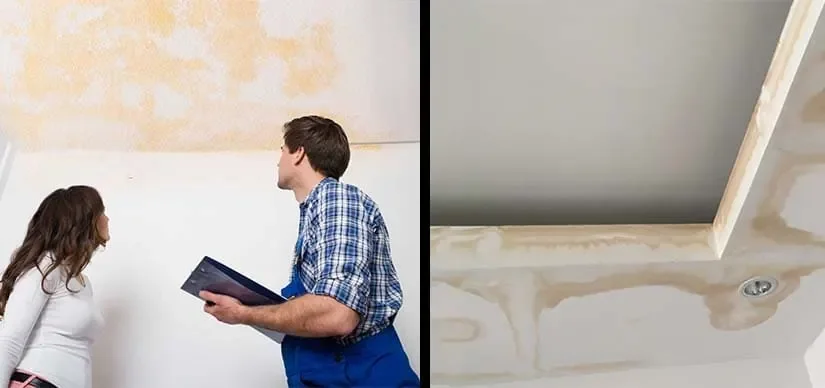
Water tanks can leak for a variety of reasons, including faulty valves, excessive tank capacity, or issues with the pipelines that link to the unit. If your water tank is more than ten years old, the leak is likely due to age — in that case it’s better to upgrade it. While you may ultimately need to call a plumber for Water Leak Detection, depending on the location of the leak you may be able to solve the problem yourself. Continue reading to get initial steps to take, and to find out the leak and fix it.
Measures To Be Taken During Water Leaking
Turn Off The Water Tank That Is Leaking
The water tank will have a meter or an On/Off button near the line connection. If your water tank is electric, find your home’s electric panel and turn the switch to the Off position.
After That, Turn Off The Water Supply Of The Tank
On the top of the water tank, there are two plumbing pipes — the hot water pipe, which distributes hot water to your taps, and the cold water supply line. Only the cold pipe has a shutoff valve; set it to Off to prevent cold water from entering the tank.
Discover The Source Of Leakage Of A Water Heater
Water heater leaks usually begin slowly, drip by drip, making it hard to determine where the water is coming from. Run your fingertips or a tissue around these three potential spots to check for wetness:
- The connections on the lines above the heat valve
- The drain valve towards the bottom of the tank (the one with the typical garden hose attachment)
- The valve on the tank’s sidewall that has steel tubes running a few inches before turning downward to the floor. Also inspect for wetness at the tube’s bottom, which is open.
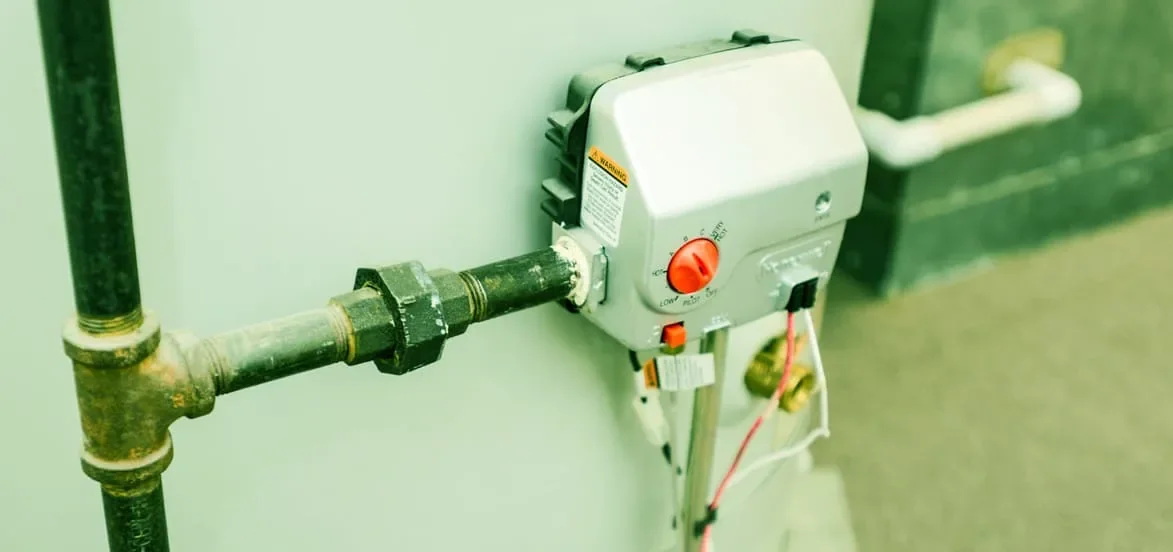
If The Valve Is Leaking, Reduce The Water Temperature
The temperature of the water and the pressure of the incoming cold water determine the pressure in a water tank. When the temperature in the tank reaches a hazardous level, the valve (also known as a pop-off valve) releases it. This valve, placed at the down-turned pipe you saw previously, is a safety device that directs a scalding jet of water to the ground instead of someone standing nearby.
If the leakage is originating from the bottom of the pipe or near the valve, it could mean that the water in the tank is too hot. Many manufacturers set water heaters to 140°F, although the Department of Energy recommends 120°F for most homes. If the thermostat does not show degrees, change it from “High” to “Medium” to reduce the heat in the tank and halt the leak.
Check The Pressure Of Water Supply
The pressure in the water supply pipe may be too high if the water temperature isn’t too hot. The exterior water meter controls the quantity of water that comes into your home, and if it’s 100 pounds per square inch (psi) or above, it could be causing enormous strain in the water heater. The valve may also leak water as a result of this.
You’ll need a water pressure gauge to check your water pressure. Connect the gauge to an outdoor faucet like you would a garden hose, and ensure no other water taps or appliances are running. When you open the faucet, the gauge will show the water pressure. For many homes, a psi of 80 is adequate, but if it exceeds 100, call your city water authority and request they reduce the pressure.
Replace A Leaking Drain Valve
If there are drips near the drain valve, it must be repaired as soon as possible. While some people will call a plumber to fix a water leak at this stage in San Diego, dedicated do-it-yourselfers may also be able to complete the task. To drain the water tank, first connect a water hose to the drain valve and run the other end of the hose to a floor drain or shower drain.
Open the valve with a flathead screwdriver so that the water flows through the hose. Once water has drained, grab the drain valve with an adjustable wrench and turn it counterclockwise — it will pop right out. Take the old valve to the hardware store to find a matching replacement, and install the new valve by turning it clockwise into the drain valve hole until it’s tight.
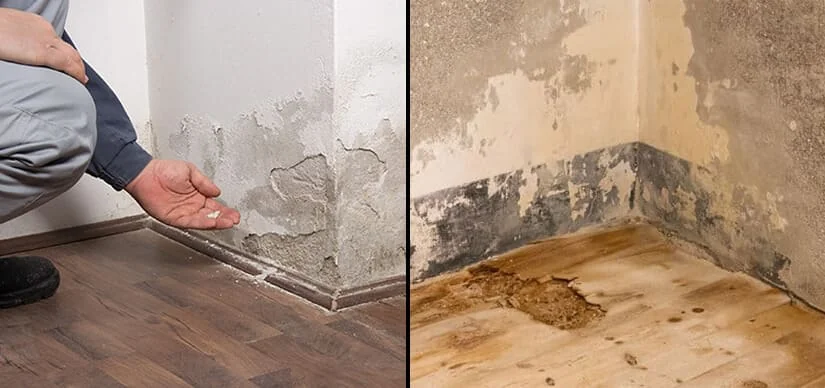
If The Leak Is In The Bottom Of The Tank, It’s Time To Replace The System
If your inspection shows the leak is not coming from any of the above areas, the problem is at the base of the tank. Sediment can build up in the bottom of a water heater over time, eventually causing rust to eat away at the tank’s base.
Draining and flushing the water heater regularly can slow rusting, but if the bottom is leaking, replacement is necessary. Gas water heater installation usually requires a licensed contractor due to gas connections and local codes. Electric models require connection to the home’s service panel and should be handled by a qualified electrician.
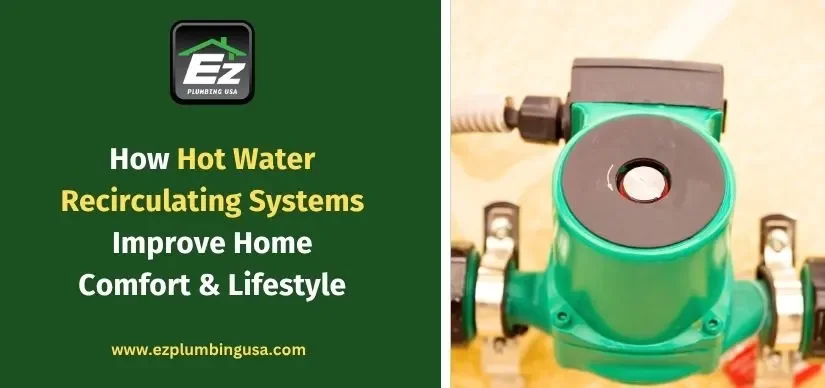
Monitoring Is Crucial
The system should then be regularly monitored to ensure the pressure setting is correct. Note that the pressure switch adjustment you make can only be read once the pump has attained its first regulated shut-off. Your new setting will be the next cut-in and cut-off pressure.
The pressure control box, a small box installed on the plumbing from the well to the pressurized vessel, houses the pressure switch. The cover is usually held in place by a small nut. A diagram on or inside the cover may show the switch settings for your model.
Inspect the components of the pressure switch. Note the contact points and the two nuts that must be adjusted to modify the settings. The 1/2-inch nut controls the cut-in level (when the pump turns on). Turn the nut counterclockwise to raise the cut-in setting.
Put a 7/16-inch wrench on the other nut and turn it clockwise to raise the cutoff setting (when the pump turns off). Replace the switch cover, but don’t fully tighten the cover nut yet.
To check the settings, turn the breakers back on. Open a water valve near the pressure tank until the pump turns on — note the psi when the pump starts. Then close the valve and note the psi when the pump turns off. Common pump settings are 20/40, 30/50, and 40/60 (cut-in/cutoff).
If the pressure switches are different, adjust the cut-in to about 30–40 psi and the cutoff to about 50–60 psi. Repeat until you get the desired result. When adjusting the pressure switch, remember to turn off the circuit breaker.
Seek Professional Advice Right Away
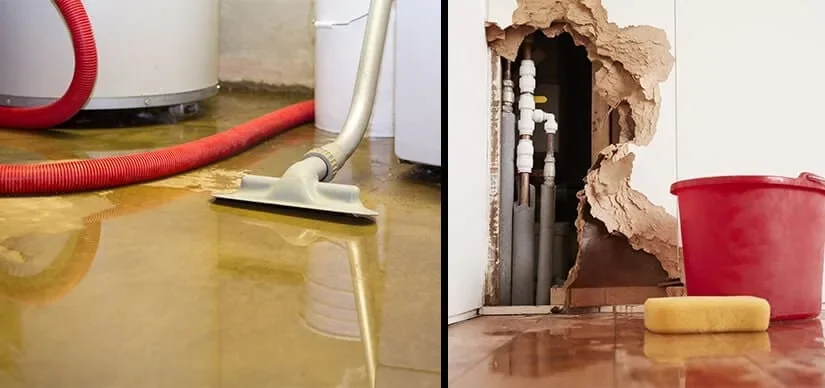
Water leaks must always be repaired by a professional. A skilled plumber in water damage restoration will be able to find out the exact cause of the leak and provide a complete repair plan that will get things fixed swiftly and efficiently.
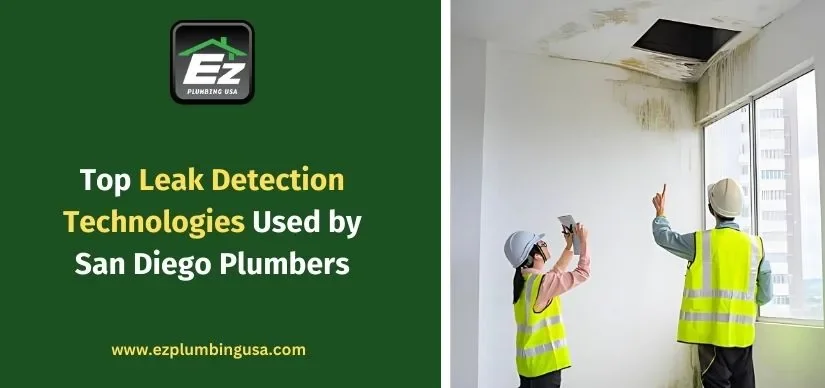
Water Leak Detection Method
The following are some of our favorite Leak Detection Methods:
Cutting and digging into your floor and walls to uncover the damaged pipe is an invasive procedure. It’s beneficial since it speeds up the repair process.
Infrared Cameras: At Ez Plumbing USA, we use an infrared camera to take pictures of the pipes from various angles in order to find the problem and evaluate the effectiveness of the leak.
Water pressure in pipes is measured using a special gadget called a meter. The data are then compared to a normal pipe to see if there is a leak somewhere.
The Process Of Detecting Water Leaks
Our professionals will first assist in preventing additional water damage and reducing the stress caused by it. We’ll send a comprehensive report indicating an exact location and the entire scope of the issue after we’ve done all essential tests and evaluations. Any high-resolution images taken during the inquiry will be included in the report, as well as recommendations for resolving the issue.
We can also provide a no-obligation price to address the problem and, if necessary, provide suitable drying or dehumidification equipment.
We can also quote for major repairs once the case is resolved, because we are one of the best Water Damage Restoration Companies. We can assist with Swimming Pool Leak Detection, plastering, Spa Leak Detection, Plumbing Diagnosis & Inspection, Sewer System Backups, among other things.
We can give you whatever your insurance provider will need to react to a claim demand in a single trip.
For Special Help Contact EZ Plumbing USA Team, WE Are Ready To Assist You!
Waste water, multiunit redevelopment, regular maintenance, and green engineering are the fundamental activities of our company. We can deliver a dependable, high-quality, and innovative service by focusing on providing a comprehensive plumbing service for customers and fully committing to our primary objectives.
We offer solutions safely and effectively to achieve our clients’ objectives because we have a fully certified and well-trained team that uses specialized equipment and invests in new technologies.
Every day, our water leak detection services in the USA assist a large number of private households, landlords, renters, and companies in all industries (residential and manufacturing).
Therefore, no matter what your circumstances are or where you are in the USA, you can rest assured that we can assist you with leak detection services. Water main leaks, heating system problems, underfloor heating leaks, subterranean leakage, hot feed leakage, cold feed leaks, steam heating leaks, leaks in all water pipelines, and swimming pool leaks may all be traced and repaired by us.
Category
Recent Posts