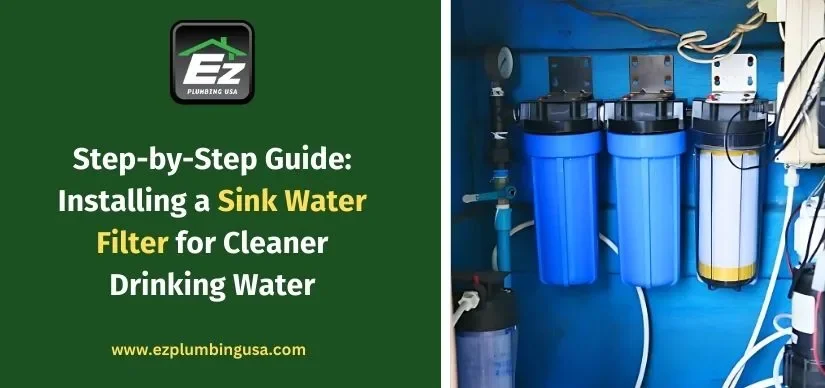
Step-by-Step Guide: Installing a Sink Water Filter for Cleaner Drinking Water
Views : 736
In simple terms, 6th installation of water filtration systems at home is a good thought for better health and peace of mind. When worries about tap water quality are on the rise, having a water filter for the sink would allow your family to have access to safe, clean, and good-tasting drinking water straight from their own sink.
Why Consider Setting Up a Sink Water Filter?
- Health Benefits: Reduces harmful substances for safer consumption.
- Cost Savings: Cuts down bottled water costs.
- Eco-Friendly: Reduces plastic waste from single-use bottles.
- Convenient Access: Clean water directly from your kitchen faucet.
Tools & Materials Needed for Installation
- Adjustable wrench
- Plumber’s tape
- Towel or bucket
- Manufacturer's installation manual
- Water filter kit (faucet-mounted or under-sink)
Step-by-Step Installation Guide
Step 1: Choose the Right Filter Type
- Faucet-Mounted Filters: Easy to install and affordable.
- Under-Sink Filters: Installed below the counter for high-capacity filtration.
Step 2: Turn Off the Water Supply
Step 3: Prepare the Area
Step 4: Install the Filter
- Remove the aerator from the faucet.
- Attach the diverter valve provided with the filter kit.
- Connect the filter and tighten it using the wrench if needed.
- Ensure the unit is secure and properly aligned.
- Disconnect the cold-water supply hose.
- Attach the T-valve from the kit.
- Connect the input and output hoses to the water filtration system.
- Mount the filter unit to the cabinet wall with screws or adhesive pads.
Step 5: Test for Leaks
Step 6: Flush the Filter
Step 7: Enjoy Cleaner Water
Maintenance Tips for Longevity
- Replace Cartridges Regularly: Every 3 to 6 months depending on usage.
- Clean Filter Housing: Wipe down monthly to avoid mold or grime.
- Check Water Flow: Reduced pressure may indicate a clogged filter.
- Monitor Filter Life: Many models include an indicator or reminder system.
Benefits of a Water Filtration System
- Healthier drinking water free from contaminants.
- Enhanced taste for drinking, cooking, and beverages.
- Reduced chlorine and sediment buildup in pipes and appliances.
- Peace of mind knowing your family’s water is safer.
Common Mistakes to Avoid
- Skipping the Flush Step: Always flush before first use.
- Incorrect Installation: Follow the manual to avoid leaks or damage.
- Ignoring Maintenance: Regular replacement is essential.
- Using the Wrong Filter: Make sure your filter matches the contaminants present in your water supply.
Best Practices for Choosing a Water Filter for Sink
Eco-Friendly Advantages
When to Call a Professional
- You’re unfamiliar with plumbing work.
- You notice continuous leaking.
- You need help choosing the right system.
Conclusion
FAQ'S
1. How long does it take to install a sink water filter?
Most sink water filters can be installed in under an hour, especially faucet-mounted types. Under-sink models might take slightly longer, depending on plumbing knowledge and tools.
2. Do sink water filters remove all contaminants?
Sink water filters can remove many common contaminants like chlorine, lead, and sediments. However, they may not remove all types of bacteria or viruses unless specified.
3. How often should I change my filter cartridge?
Cartridge replacement depends on the filter type and usage, but typically every 3 to 6 months. Some systems come with an indicator for replacements.
4. Can I install a sink water filter myself?
Yes, most water filters for sinks are designed for DIY installation with basic tools. Instructions are provided with the kit for ease of use.
5. Is a faucet-mounted or under-sink filter better?
Faucet-mounted filters are budget-friendly and easy to install. Under-sink filters offer better filtration and a neater look, ideal for high-usage households.
Category
Recent Posts